
Back to Writing for Psychology Home Page
If you start writing your paper by typing your outline into Microsoft Word, finishing your first draft is just a matter of filling in that outline. To begin, create a new file.

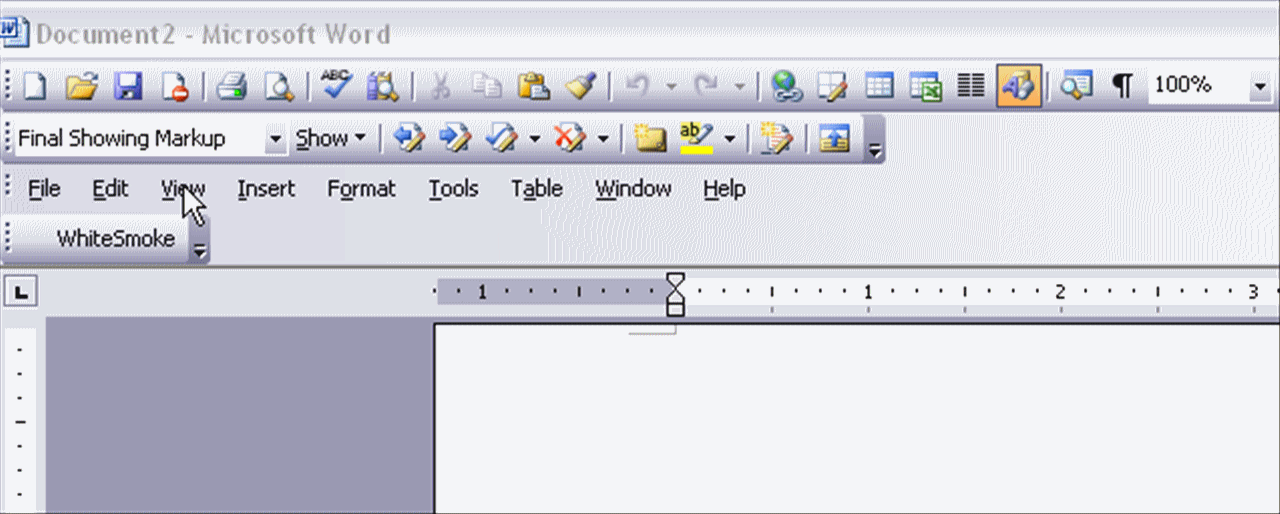
After creating a new blank document, select the "View" menu.
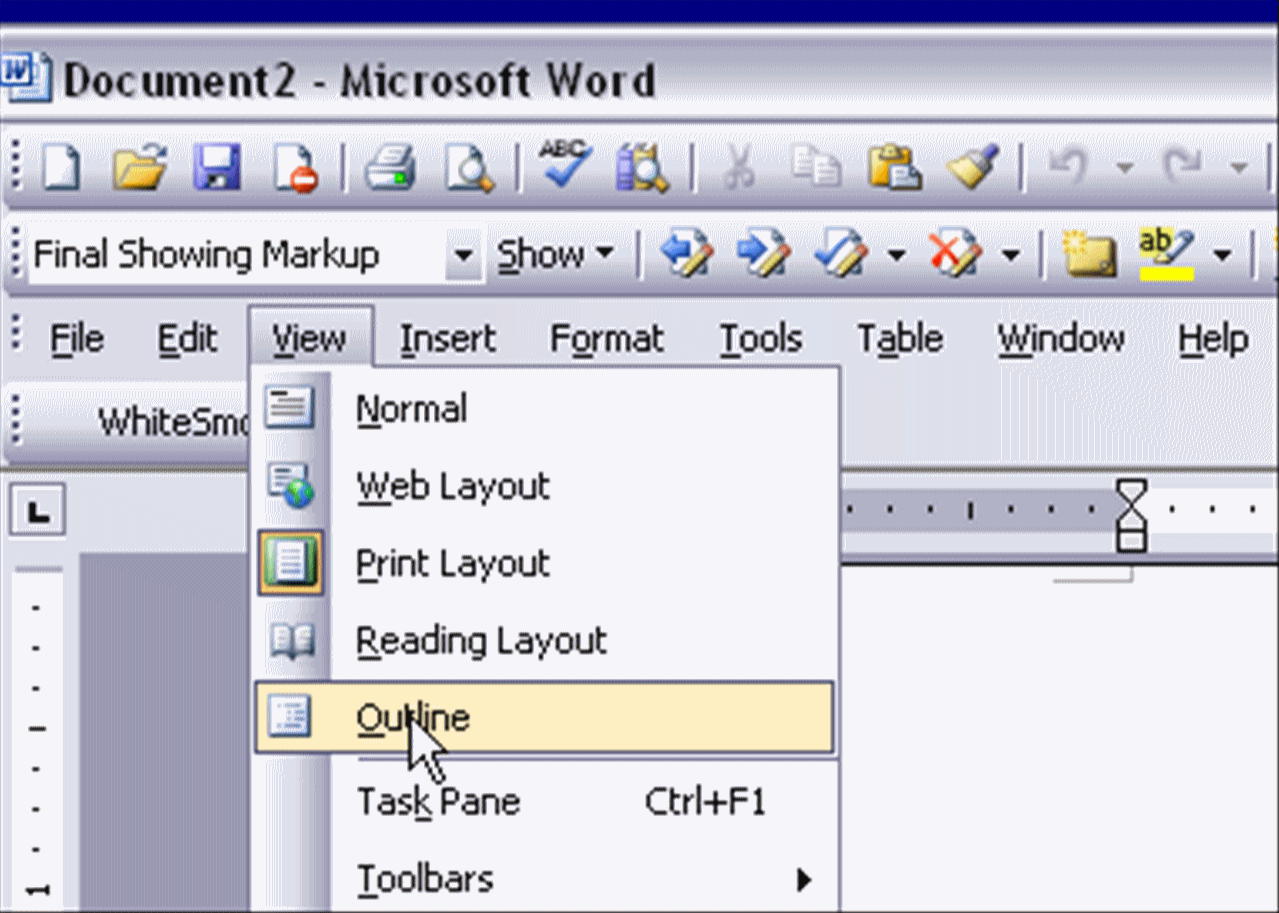
You will see the following menu bar.

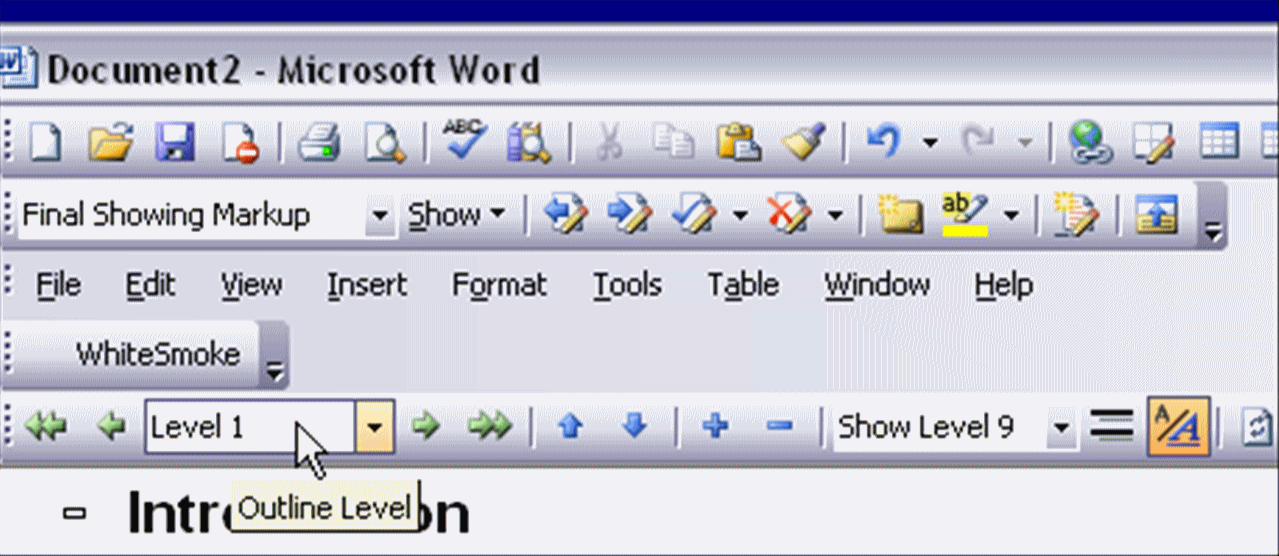
Type your first outline entry (a main heading), making sure the computer knows you are typing in a Level 1 (a main) heading. Typically, your first heading (I. in a traditional outline) would be "Introduction."
Next, you could type your next entry (the first entry under I.; your "I.A". entry in a typical outline)
.
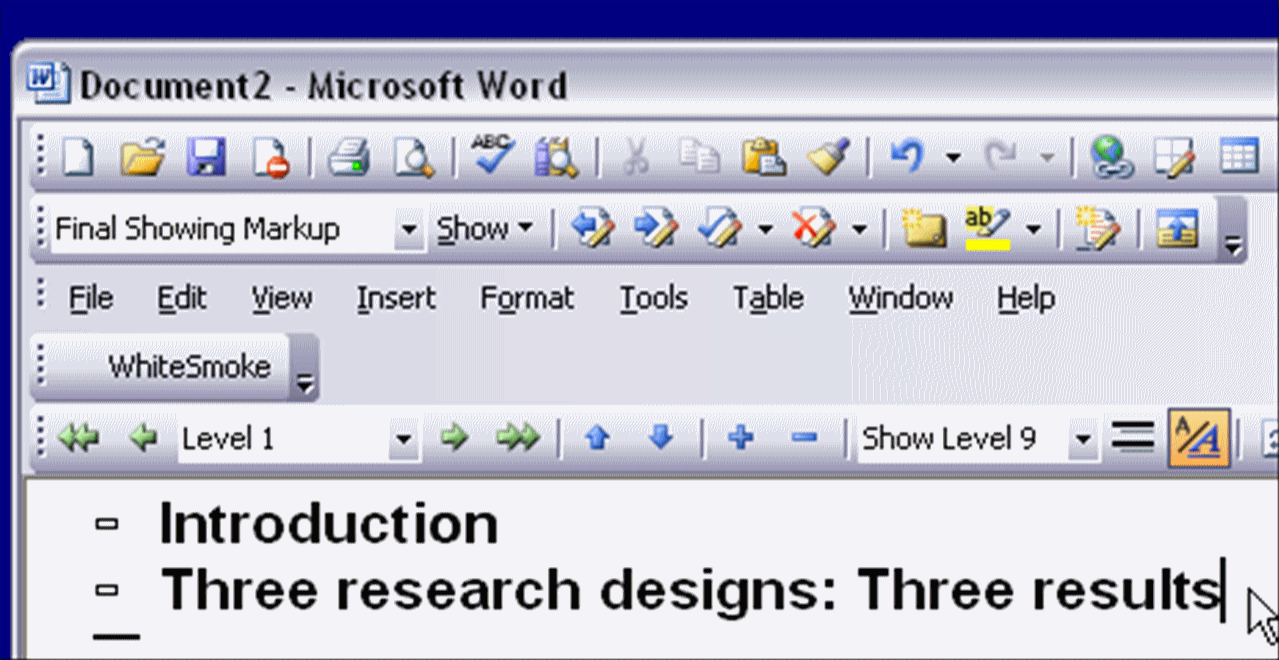
Note that MS Word does not know that your second entry is a subheading (So, if you only have ideas for your main headings--or if you just prefer typing in your main headings first, you can do that). To let MS Word know that you want your second entry to be under "Introduction," you can either click on the "tab" key to move the entry over or you can use the green right arrow to indent the entry (see picture below).
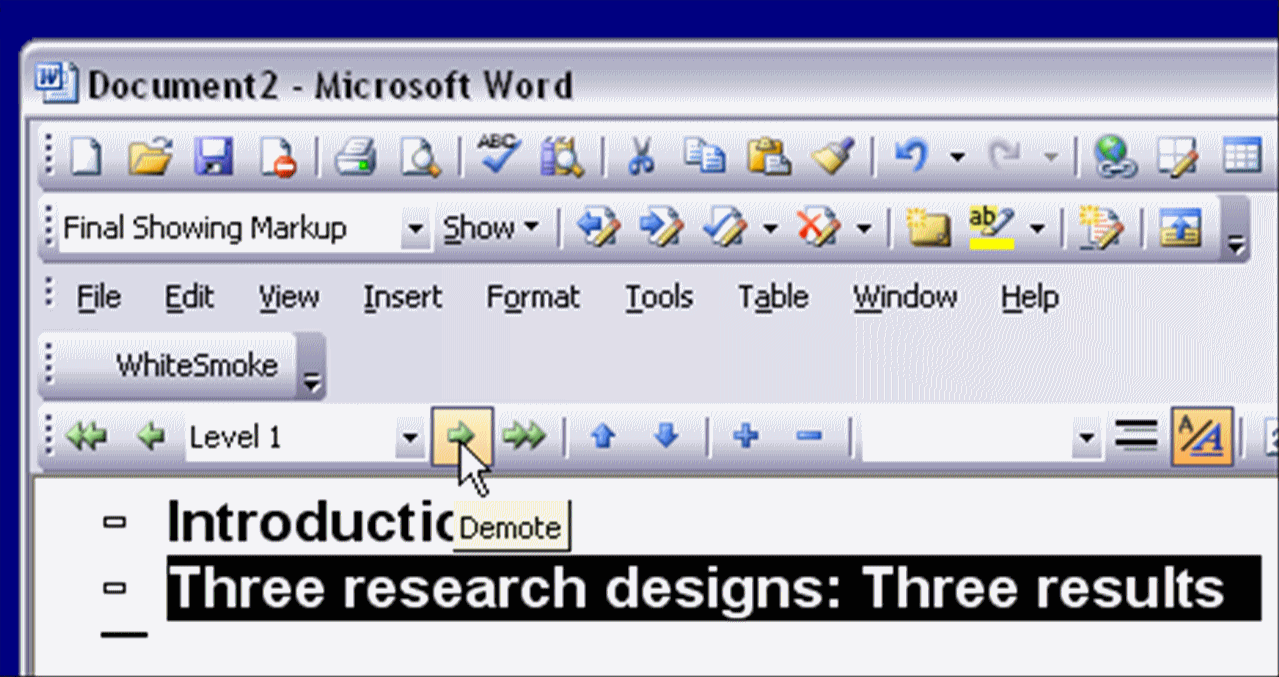
Note that you can tell that your subheading is below the heading because (a) the subheading is indented farther than the heading, and (b) the heading has a "+" sign indicating that there is at least one entry under it. ,
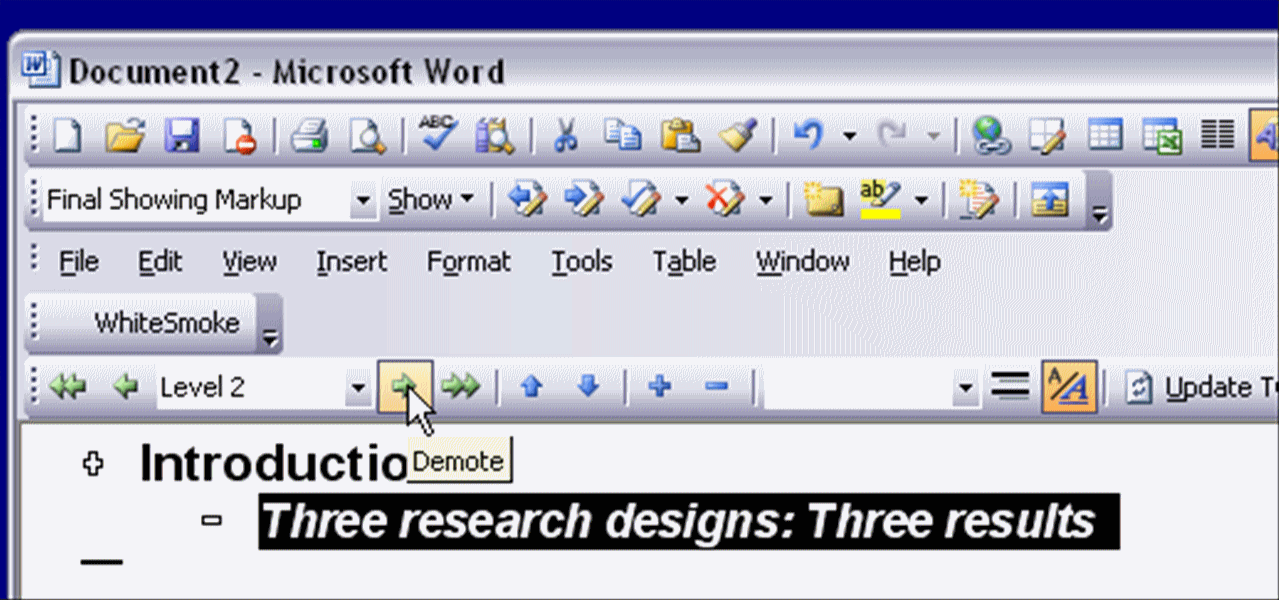
If the next entry goes under the subtopic (e.g., I.A.1 in a conventional outline), you can hit the tab key or the right green arrow key.
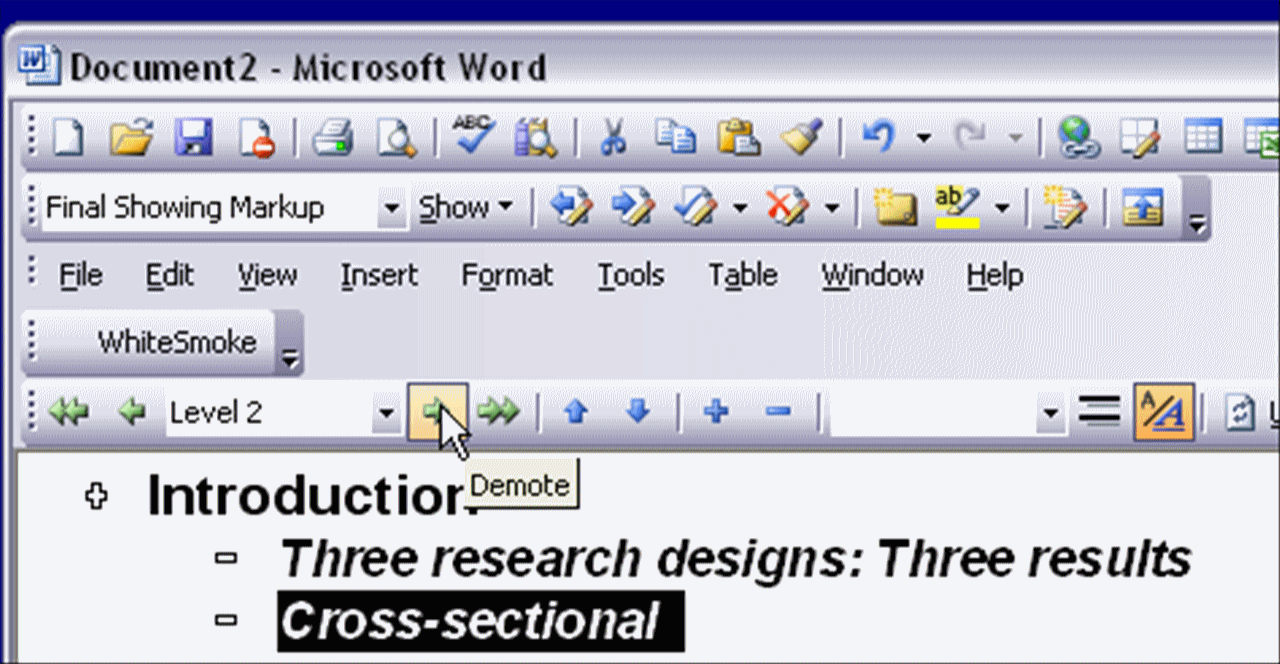
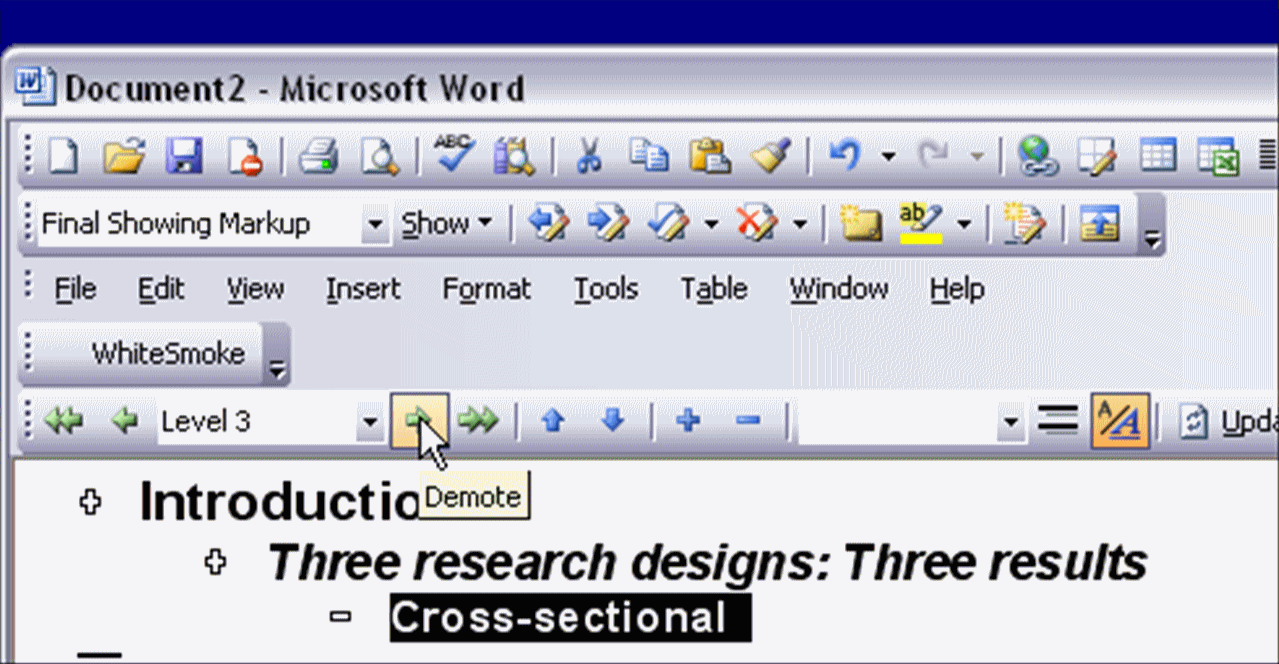
To add more entries at the same outline level (in our example, to follow I.A.1 with I.A.2 and I. A. 3.), just hit the "return" key after each entry.
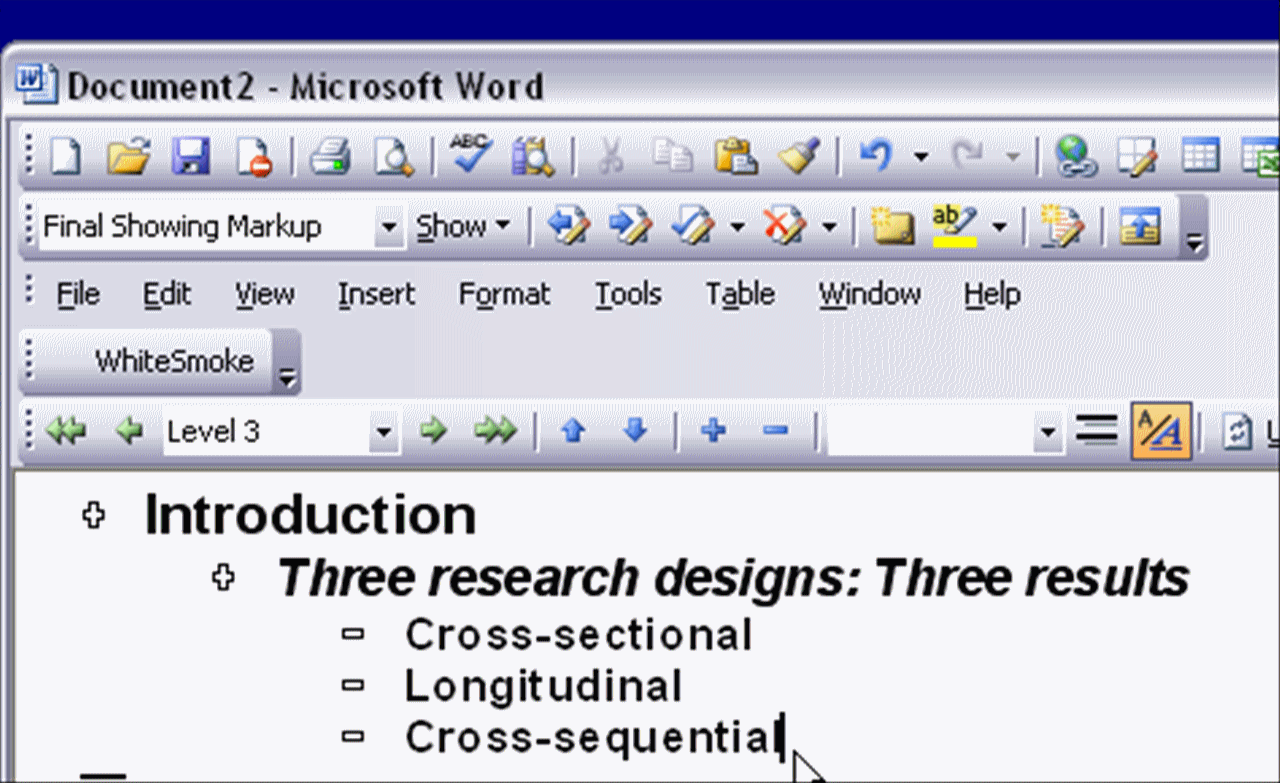
If a new entry represents a more important heading, you can easily move it. Thus, to move "My paper will ..."
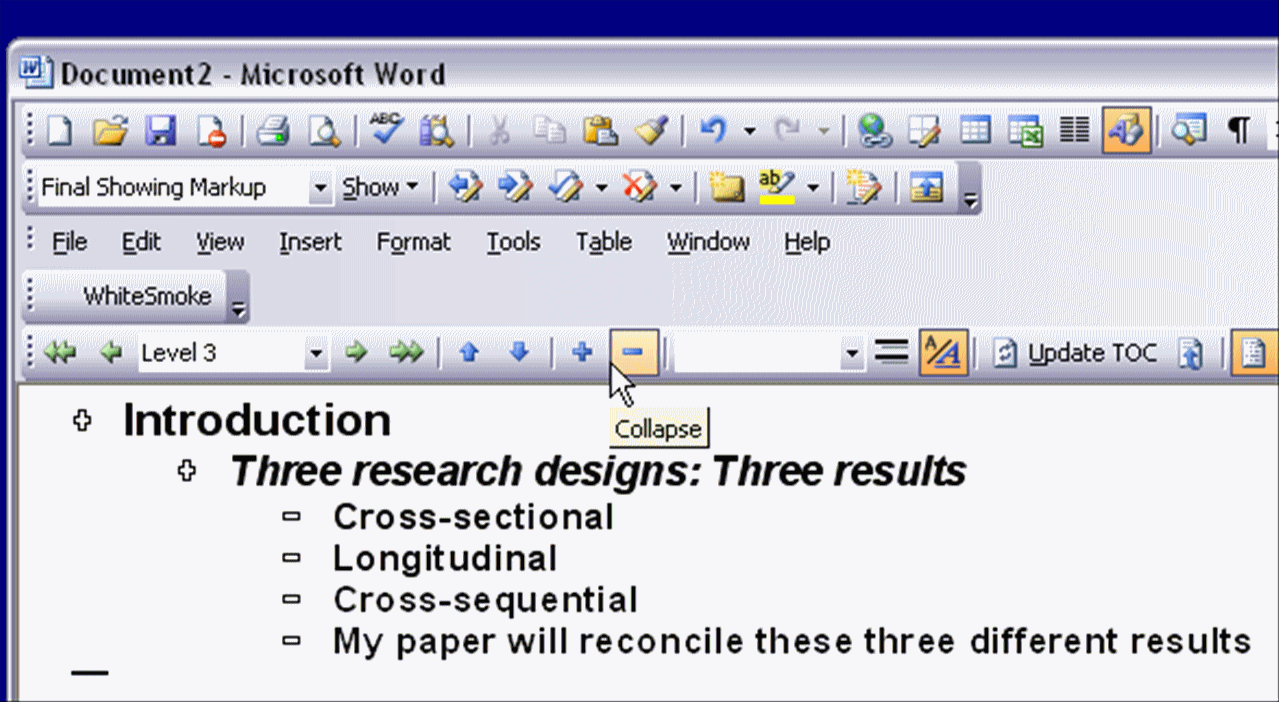
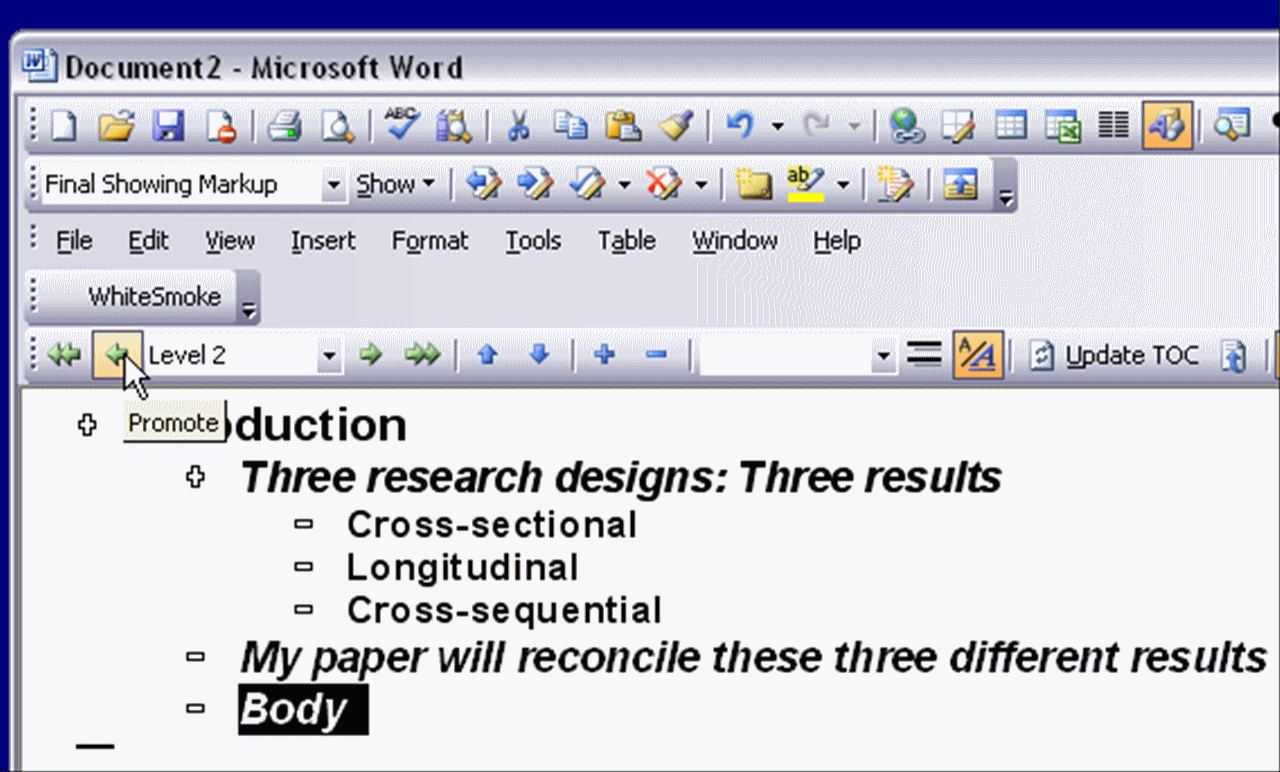
We highlight the text and then click the left green arrow.
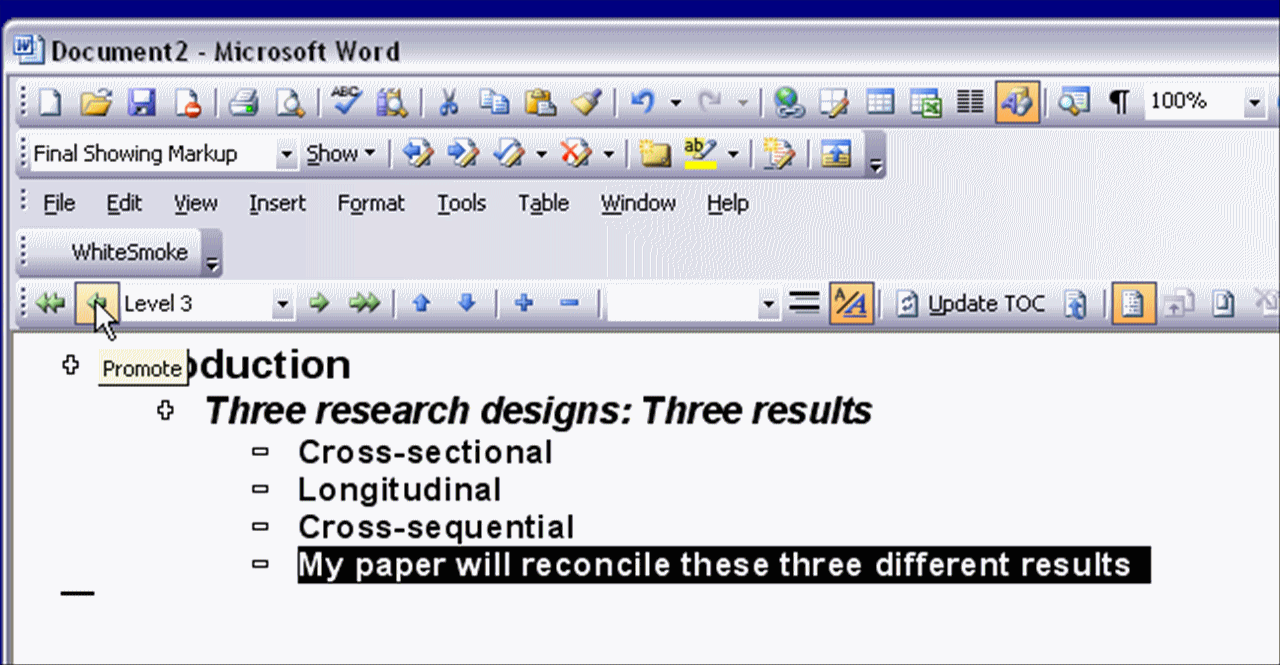
We can see that "My paper..." is at the same level as "Three research designs ..." because the "-" sign for "My paper ..." is right under the ("+") sign for "Three research designs ... ." To know exactly what level a heading is, you can highlight the heading and look in the box between the green arrows.
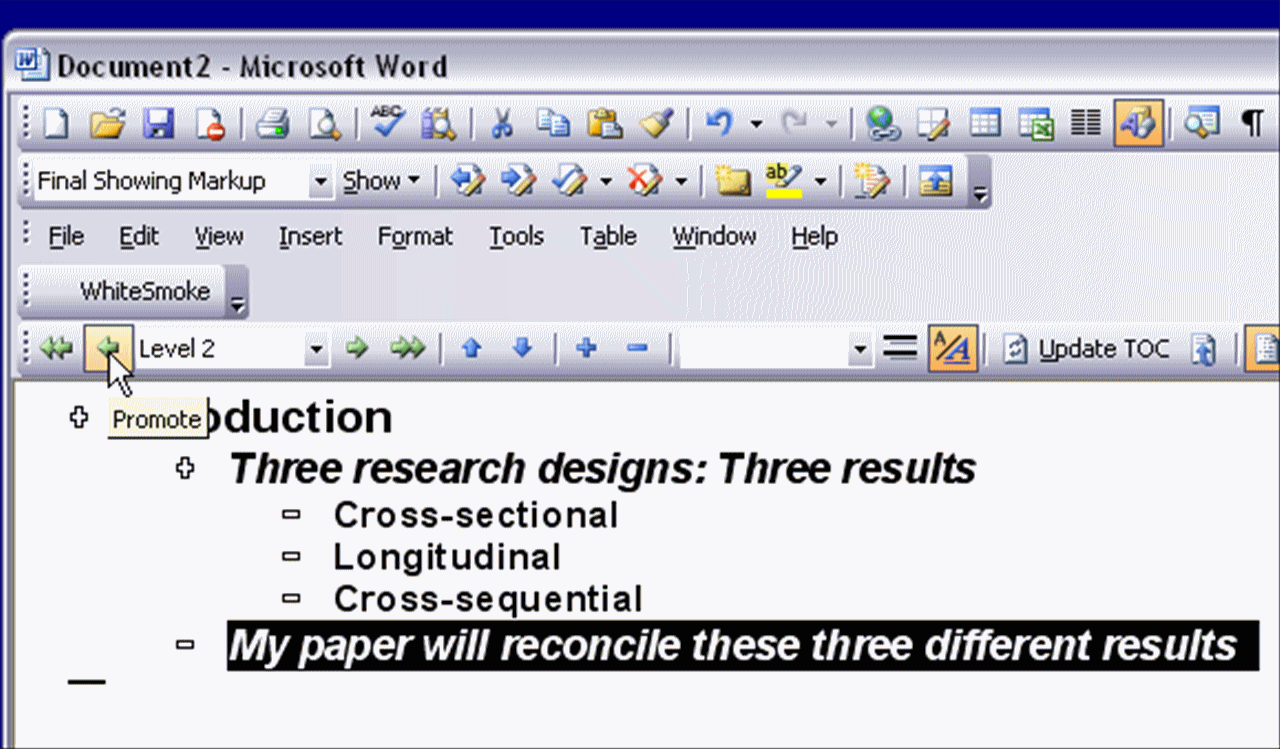
Thus, to move the body over so it is a main ("Level 1") heading, you first highlight it. Then, you click the left green arrow.
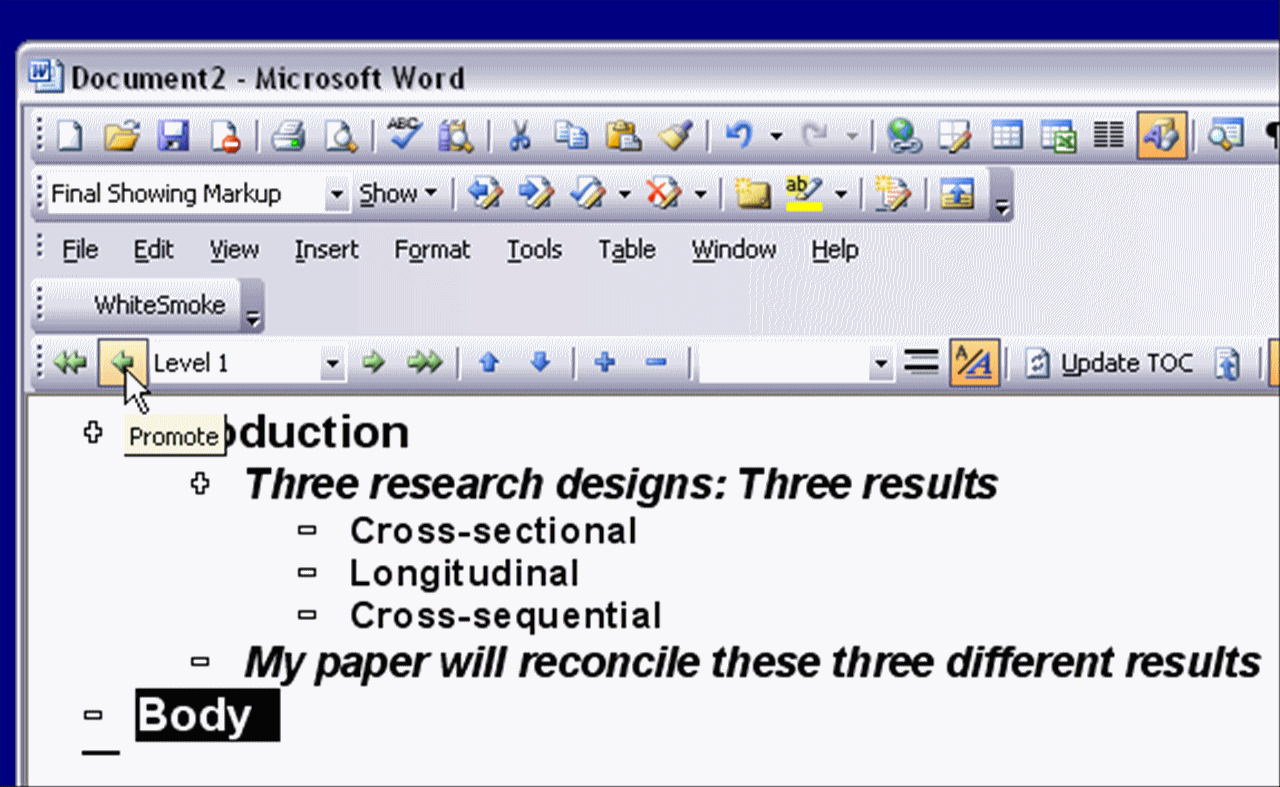
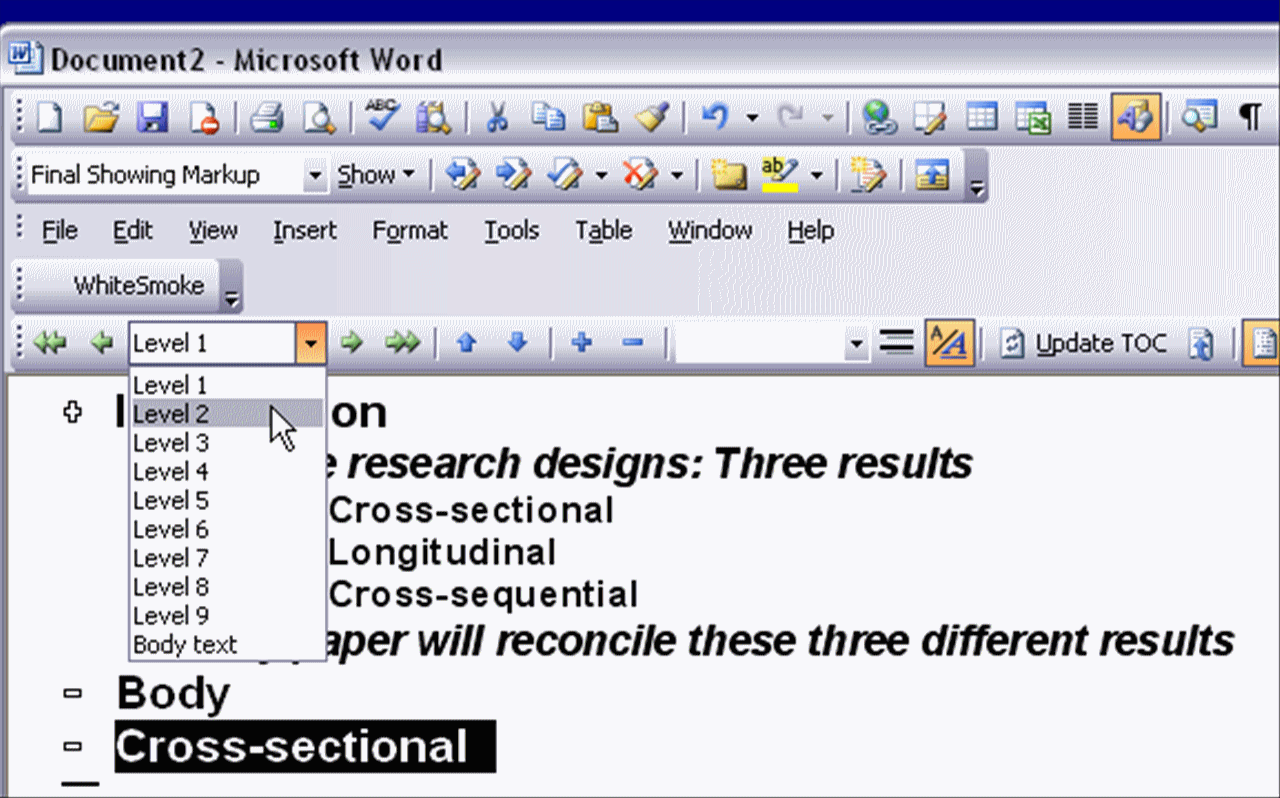
To move entries under "Body," you have three choices: (a) hit the "tab" key, (b) hit the green right arrow key, or (c) choose a lower level heading (in this case, "Level 2") from the "Level" box located between the left and right green arrows.
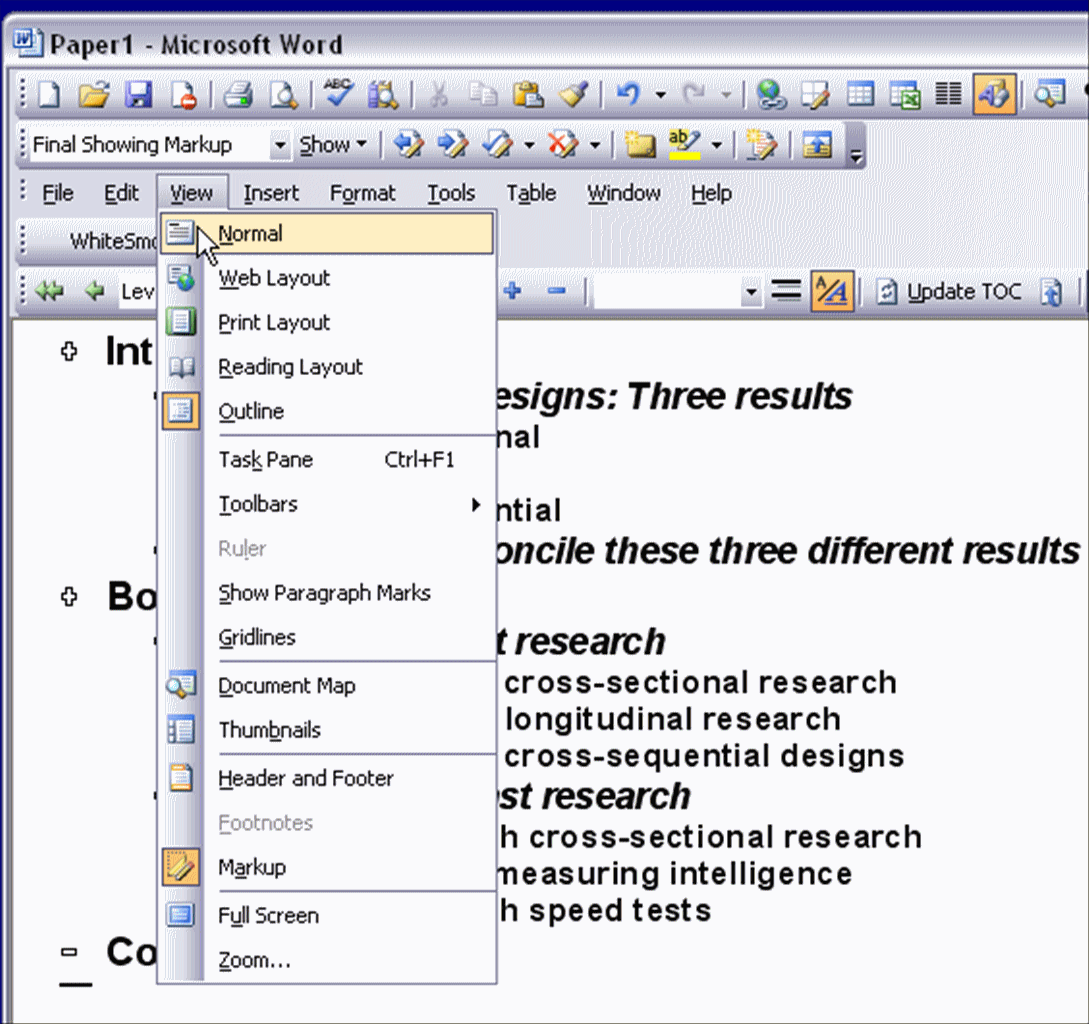
If you want to switch from outlining to writing parts of your paper, first click on the "View" menu.
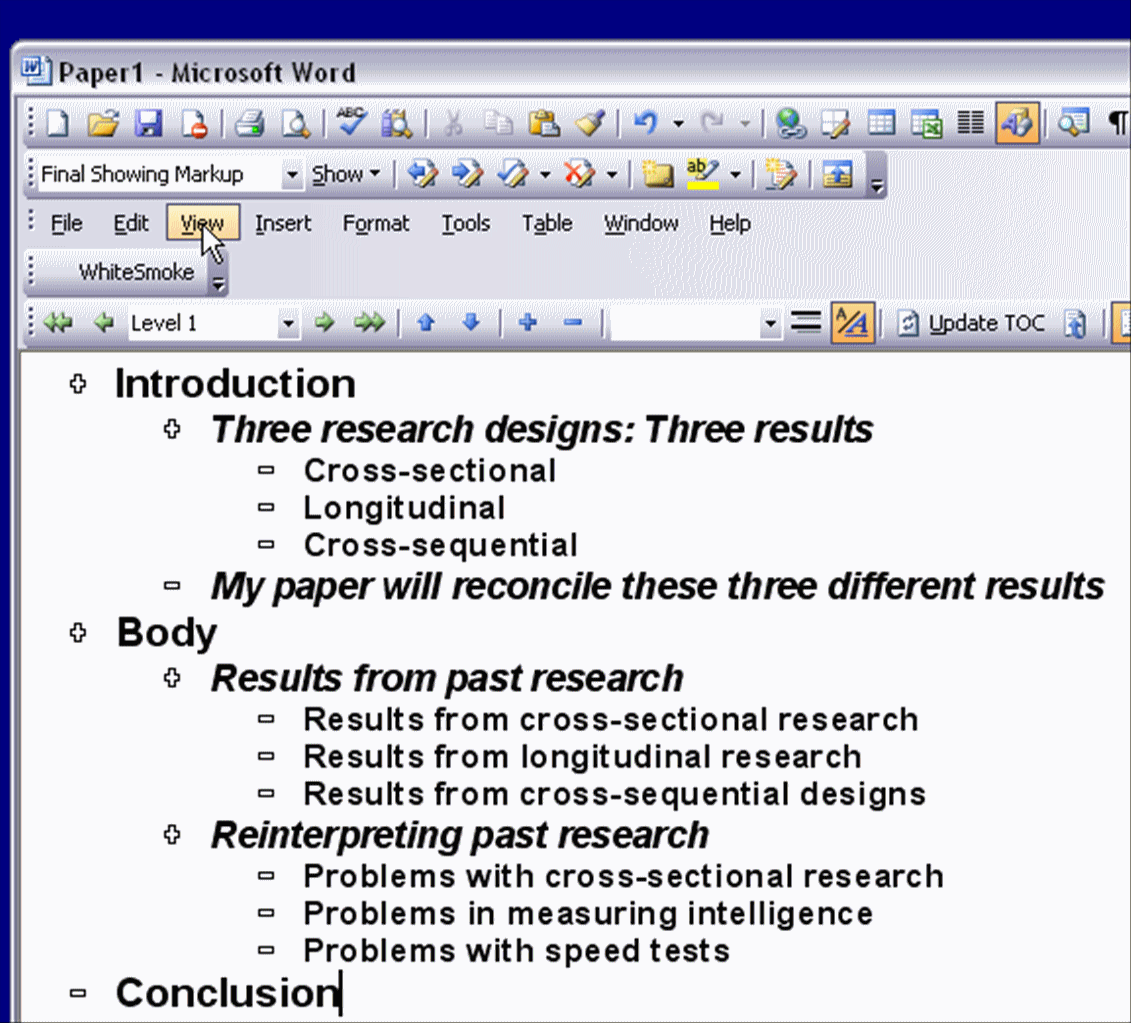
Then, select "Normal."Note that to go back to outlining, you would return to the "View" menu and select "Outline."
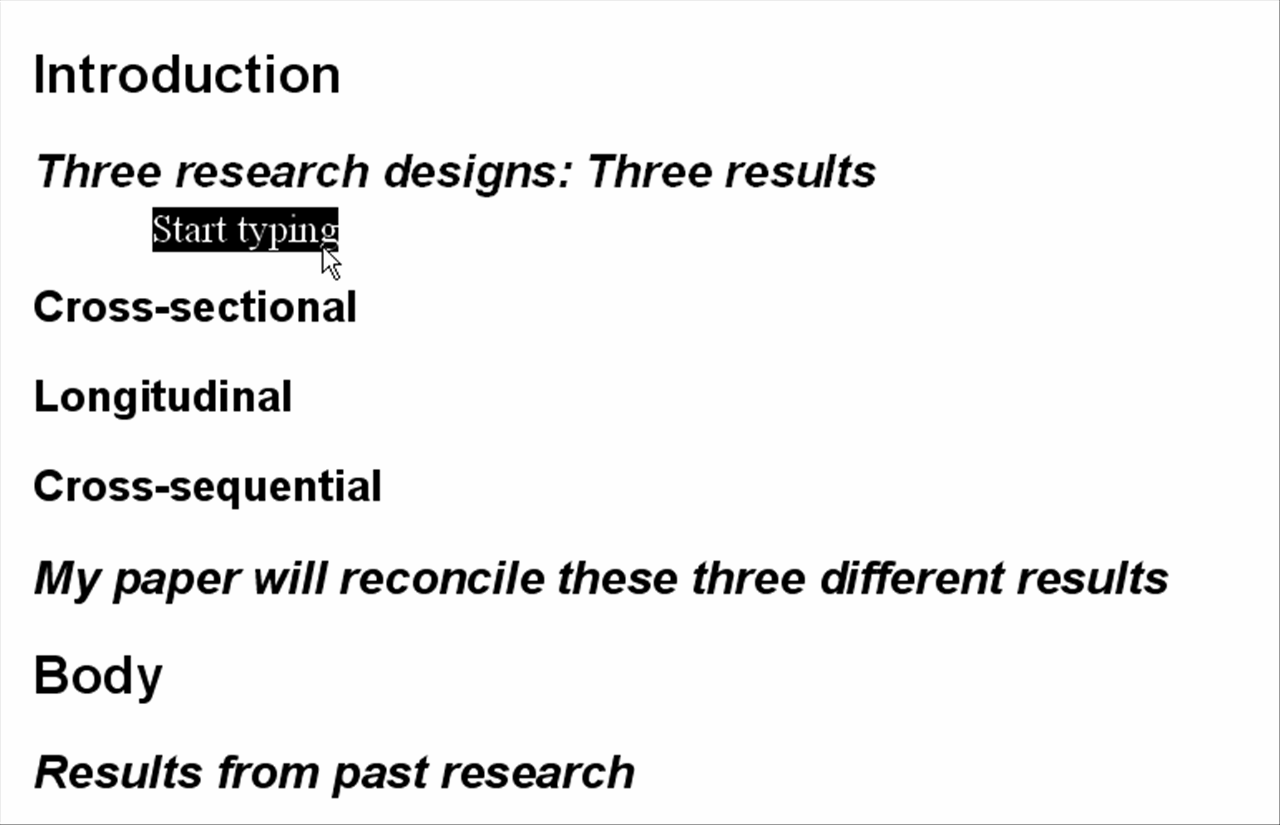
Now, just put your cursor right after the place where you want to add text, click "return," and start typing.
As you work on your paper, you will change some of your headings. For example, you will not have the heading "Introduction" in your final paper. Instead, you will probably replace it with the title of your paper.

You will also probably get rid of some of your subheadings--especially the ones in the "Introduction" and "Conclusion" sections of a term paper--and you will want to eliminate or replace the "Body" heading.
